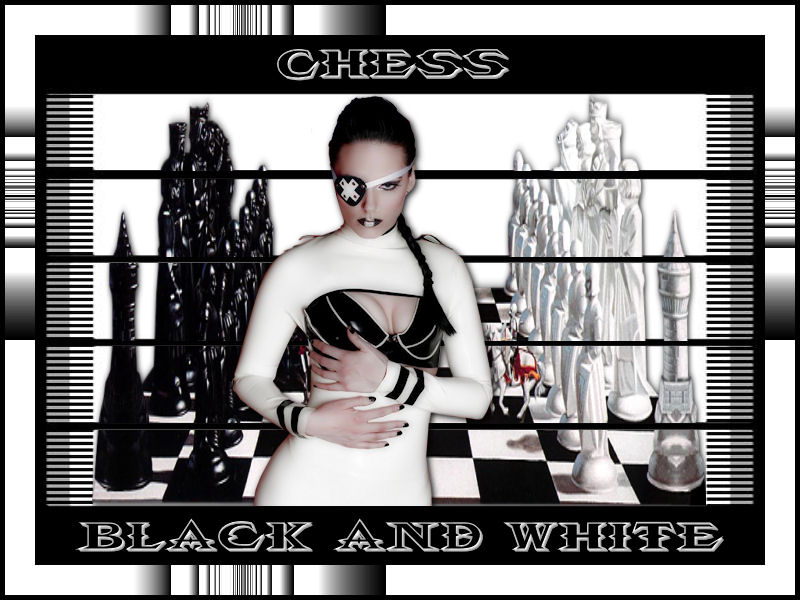
Tutorial Chess Black and White
Tube woman by
Silvina Orsi
Tube Xadrez by MTM
Mask Recebida Grupo Flower Power
Outras versões do meu Tutorial
Material

Plugin usado: Simple - Zoom Out
and Flip
Filters Unlimited 2.0 com Sandflower Specials
Efeitos do PSP
|
Use a seta para fazer o
tutorial.

|
Roteiro:
1. Abra uma imagem
transparente de 800x600 px.
Configure na paleta de
materiais, foreground: #000000.
Pinte a layer.
Layer - new raster
layer
Configure na paleta de
materiais, foreground: #ffffff.
Pinte a layer.
Layers - Load/Save
Mask - Load mask from disk
Abra a mask "Vix_Mask34"
Na paleta de materiais delete e clique em sim.
Layers - Merge - Merge group
2.
Abra o tube "MTM_STRANGE17"
Effects - 3D effects - Drop Shadow:
V/H 1 - opacity 100 - blur 10 - color #000000
Ferramenta Selection e marque cada ratângulo branco da
mask.
Copie o tube e past - past into selection.
Selection none.
3. Abra
o tube "393_silivina_vanesa-orsi_julio_13_2009"
Copy - past - past as new layer
Image mirror - resize 44%
Coloque o tube na esquerda - veja no exemplo
Aplique drop shadow:
V/H 2 - opacity 100 - blur 10 -
color #000000.
4 - Layer - new raster
layer
Selection - modify - contract : 35
Selection - invert
Pinte a seleção com a cor #ffffff.
Effects - Plugin Filters Unlimited 2.0 - Sandflower
Specials - Design Videowand
Anzahl Bildschirme: 195 - Jalousie v. aus/ein: 153 -
Jalousie h. aus/ein: 20
Selection - selection all - modify - contract: 5
Selection - invert e pinte com a cor #000000
5. Layer - new
raster layer
Selecione a ferramenta text e abra a fonte "VTC Belial
Blade 3D"
Escreva na parte superior "Chess" tamanho 36 px. com a
cor #ffffff - sharp - floating -
stroke width 1,0
Effects - 3D effects - Inner bevel color: #c0c0c0 -
bevel 2 - width 8 - 2 2 2 37 315 30 53.
Selection none.
Layer - new raster
layer
Escreva na parte inferior "Black and White" tamanho 36
px. com a cor #ffffff - sharp -
floating - stroke width 1,0
Effects - 3D effects - Inner bevel color: #c0c0c0 -
bevel 2 - width 8 - 2 2 2 37 315 30 53.
Selection none.
6.
Layers - Merge all
Assine seu trabalho.
7. Salve como JPG e está pronto!!!
Meus tutoriais são registrados by TWI

Home
Design by
Sweet Seduction.
Copyright © 2009 -
2010 by Sweet Seduction.

