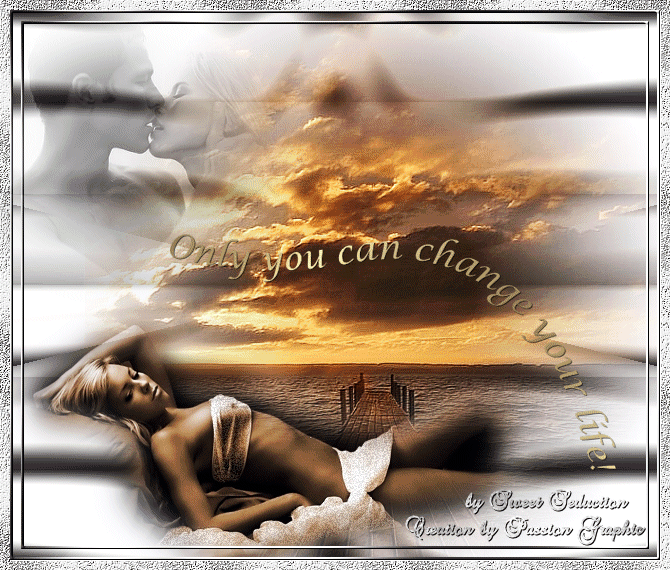
Tutorial Only you can change your
life
Pode ver o original aqui

Tube Woman by
JoLuusDogs
Tube Paisagem by Aclis
Tube casal by Crystal
Material

Plugin usado:
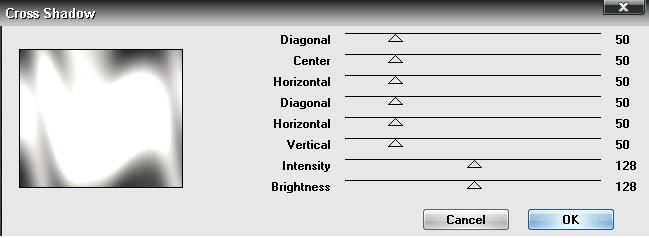
Graphic Plus - Cross Shadow
FunHouse - Convergance
Optikvervelab
FM Tile Tools - Blend Emboss
|
Use a seta para fazer o
tutorial.

|
Roteiro:
1. Abra uma imagem
transparente de 650x500 px.
Configure na paleta de materiais, foreground: #bbb7b7 e
background: #fbfbf3
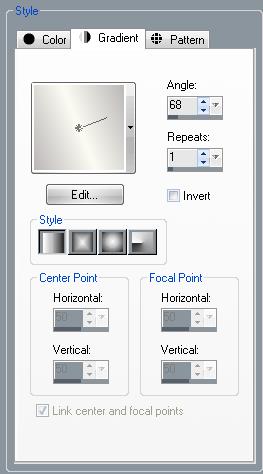
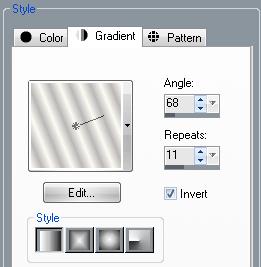
Forme o gradiente
Pinte a layer.
Effects - Plugin Graphic Plus - Cross Shadow
Effects - Plugin FunHouse - Convergance

2. Abra o tube paisagem
"aclis_paisaje_03_15_09_2008"
Copie - Past as New Layer
Posicione a direita
Com a ferramenta Pick alargue ligeiramente para a
esquerda.
3. Effects - Plugin FM
Tile Tools - Blend Emboss
Default
4. Abra o tube da
mulher "camomille_joluvsdogs"
Copie - Past as New Layer
Posicionar como mostra a tag acima.
Effects - 3D effects - Drop Shadow

5. Layer - New Raster
Layer
Preencher a layer com o gradiente, usando as mesmas
cores da etapa 1
Effects - Plugin
Graphic Plus - Cross Shadow
Default.
Selections - Select all
Modify - Contract 3 px
Delete
Selections - Invert
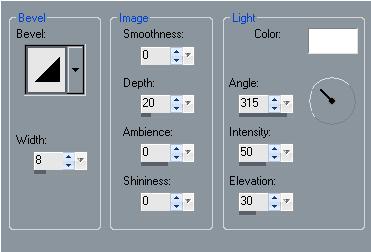
Effects - 3D Effects - Inner Bevel
Selections - Invert
Layer - New Raster layer
Selections - Modify - Contract 8 px
Pinte com o mesmo gradiente
Effects - Plugin Graphic Plus - Cross Shadow
Default.
Modify - Contract 3 px
Delete
Selections - Select all
Modify - Contract 11 px
Selections - Modify Select Similar
Effects - 3D Effects - Inner Bevel como anterior.
Selections - Select none
Layers - Merge - Merge all
6. Effects - plugin
Optikvervelab - Virtual photographer
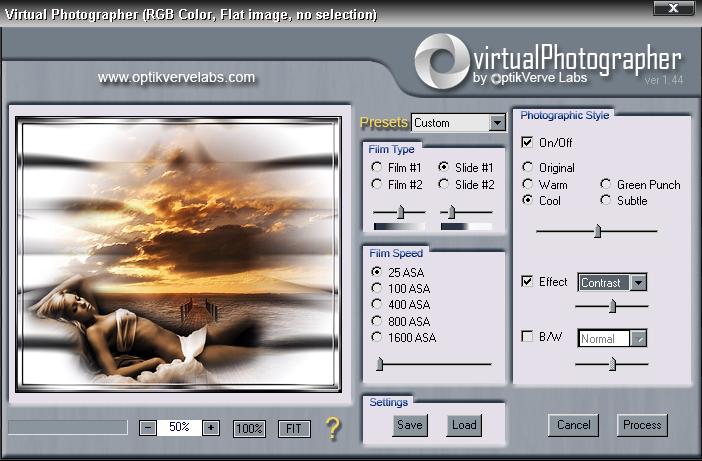
Image - Add Borders 10
px Symmetric - cor vermelha
Com a ferramenta Magi Wand ative a borda vermelha
Preencha com a pattern "passionpattern1"
Effects - Plugin FM Tile Tools - Blend Emboss
Selection none.
7. Abra o tube do casal
"+crystal_Kiss-1mist"
Copie - Past as New Layer
Posicione a esquerda.
8. Abra o tube wordart
"schriftzug"
Copie - Past as New Layer
Image - Resize 78%
Posicione como na tag acima.
9. Faça a sua
assinatura
Effects - 3D Effects - Drop Shadow 1 1 93 0 #000000.
Layers - Merge - Merge all.
10. Ative a ferramenta
Free Selection
Selecione o corpete e a saia da mulher
Layers - Duplicate 2x
Posicione na primeira layer
Adjust - Add/Remove Noise - Add Noise: Monochrome -
Uniform - 20%
Posicione na segunda layer
Adjust - Add/Remove Noise - Add Noise: Monochrome -
Uniform - 25%
Posicione na terceira layer
Adjust - Add/Remove Noise - Add Noise: Monochrome -
Uniform - 30%
Selection none.
11. Abra o Animation
Shop
Copie a primeira layer e cole no Animation Shop - Past a
New Animation
Copie a segunda layer e cole no Animation Shop - After
Current Frame
Copie a terceira layer e cole no Animation Shop - After
Current Frame
Salve a animação em gif.
12. Está pronto!!!
Minhas traduções são registradas by
TWI

Home
Design by
Sweet Seduction.
Copyright © 2009 -
2010 by Sweet Seduction.

