Tutorial Portal Future
Tube Exclusive Paisagem by Guismo
Tube Exclusive Portal by Guismo
Tube Fantasy by Creative Loves
Tube Fantasy by Mery Design
Outras versões do meu tutorial
Material

Plugin usado: Italian Editors
Effect - Fiore
Ulead Effects - Particle
Efeitos do PSP
|
Use a seta para fazer o
tutorial.

|
Roteiro:
1. Abra uma imagem
transparente de 800x600 px.
Configure na paleta de
materiais, foreground: #08150d e background: #6c7f62.
Forme um gradiente
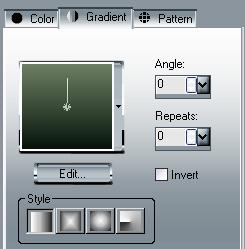
Pinte a layer.
2. Layer - New raster
layer
Selection all
Abra a imagem paisagem "calguismistartdigi15109"
Copy - Past into selection
3. Abra o tube mulher
"fantasy26-AOUT2008-creativelove"
Copy - Past as new layer
Image - Resize 65%
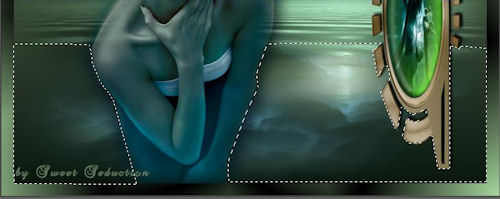
Coloque o tube a esquerda (veja a tag acima).
Effects - 3D Effects - Drop Shadow 1 1 100 5,0 #000000.
4. Abra o tube
"calguis3D30119"
Image - Rotate Left
Copy - Past as new layer
Resize 58% e coloque o tube a direita (veja a tag
acima).
5. Com a ferramenta
magic wand selecione a área verde do tube
"calguis3D30119"
Layer - New raster layer
Abra a imagem da mulher "merydesign_fantaisie36.pspimage"
Copy - Past into selection
Selection none
Aplique o Drop Shadow da etapa 4.
6. Layer - New raster
layer
Selection - Selection all - Modify - Contract 20
Selection - Invert
Pinte a seleção com a cor #122016
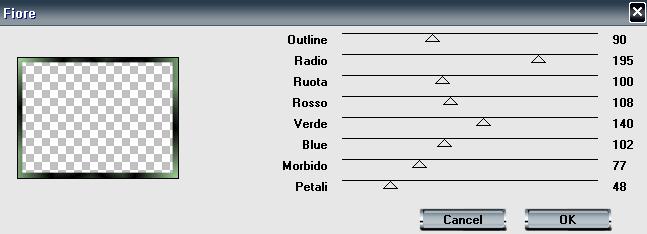
Effects - Plugin Italian Editors Effect - Fiore
7. Assine seu trabalho.
Layers - Merge all
Duplique 2x a layer, ficando 3 layers.
Feche a 2ª e a 3ª layer, posicione na 1ª
Com a ferramenta Freehand selection marque a parte
inferior da layer
Effects - Plugin Ulead
Effects - Particle
Effect Smoke - Configure as cores
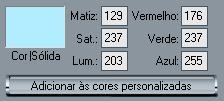
E agora configure o
plugin
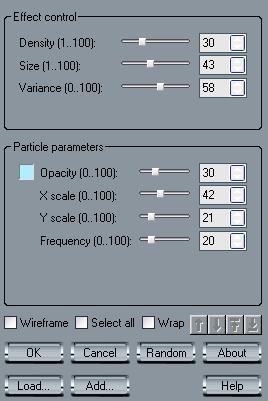
Dê ok.
Ative a 2ª layer, aplique novamente o efeito Particle,
desta vez dê 1 clique em Random
Ative a 3ª layer, aplique novamente o efeito Particle,
desta vez dê 1 clique em Random
Selection none.
8.
Feche a 2ª e a 3ª layer, posicione
na 1ª
Save as - *psp animation shop - Feche
Repita este processo com a 2ª e a 3ª layer.
9. Abra o Animation
Shop - Animation wizard
E busque as layers salvas.
Velocidade: 35
10. Salve o seu
trabalho. Está pronto!
Meus tutoriais são registrados by
TWI

Home
Design by
Sweet Seduction.
Copyright © 2009 -
2010 by Sweet Seduction.

