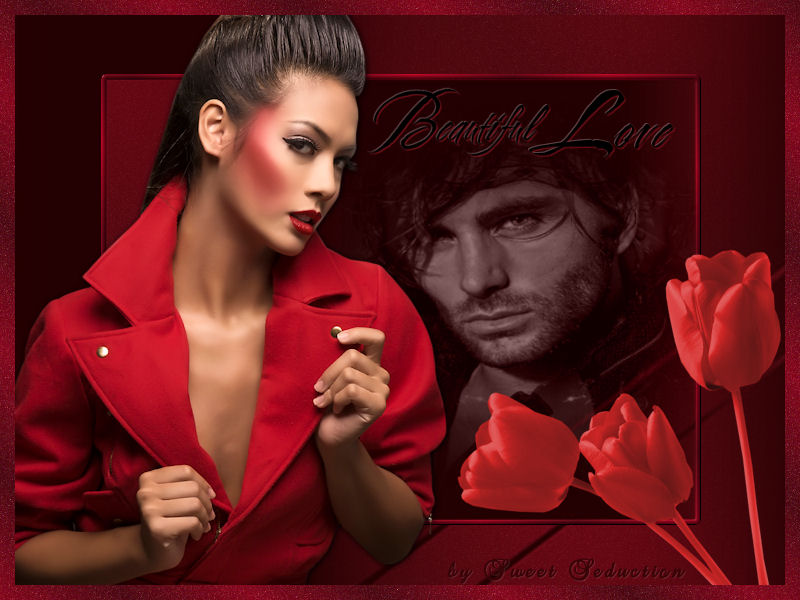
Tutorial Beautiful Love
Tube woman by Karine Dreams
Tube Homem by Candy
Tube Rosas by Guismo
Mask by Cameron
Word Art by Beth
Material

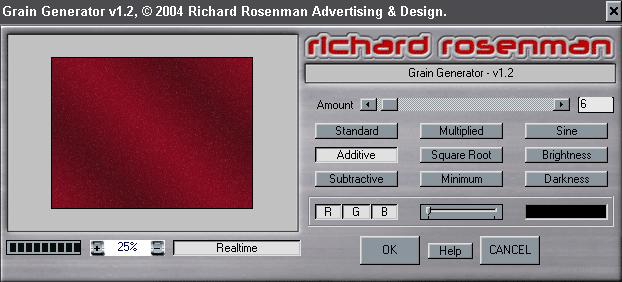
Plugin usado: Richard Rosenman -
Grain generator
Efeitos do PSP
|
Use a seta para fazer o
tutorial.

|
Roteiro:
1. Abra uma imagem
transparente de 800x600 px.
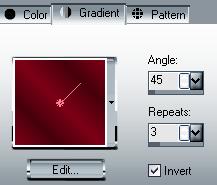
Configure na paleta de
materiais, foreground: #46030d e background #7d0217.
Faça um gradiente, com invert selecionado.
Pinte a layer
Adjust - Blur - Gaussian blur 25,00.
Effects - Plugin Richard Rosenman - Grain Generator
2. Layer - New Raster
Layer
Pinte a layer com a cor #230001.
Abra a mask "maskcameron141"
Layer - New mask layer - From image com invert mask data
selecionado
Na paleta de materiais delete e clique em sim.
effects - 3D Effects - Drop Shadow 1 1 50 0 #ce2231"
3. Layer - New raster
layer
Com a ferramenta selection marque o retângulo do meio
Selection - Modify - Select Selection Borders
Outside - 5 - anti-alias selecionado
Pinte com o gradiente da etapa 1, usando Repeats 10
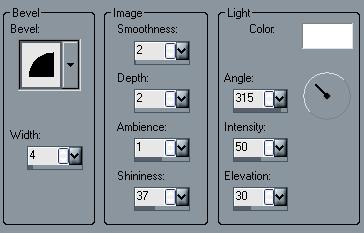
Effects - 3D Effects - Inner Bevel
4. Layer - New Raster
layer
Com a ferramenta selection marque o retângulo do meio,
sem encostar na borda
Abra o tube do homem "Amazing man by Candy"
Copie - Past into selection
Image - Mirror
Mude o blend mode para Luminance (L)
Baixe a opacidade para 50
Arraste o tube um pouco para a direita.
5. Abra o tube da
mulher "k@rine_
dreams _Pretty_Women_807_NOVEMBRE 2009"
Copie - Past New Layer
Image - Mirror
Image - Resize 68%
Posicione o tube a esquerda, veja tag acima.
Effects - 3D Effects - Drop Shadow 1 1 100 10,0 #000000.
6. Abra o tube das
rosas "calguistuliperouge27109"
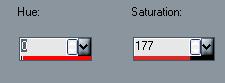
Adjust - Hue/saturation - Colorize
Copie o tube - Past new
layer
Image - Mirror
Image - Resize 65%
Coloque a esquerda da layer, veja tag acima.
7. Abra o wordart "BeautifulLove"
Com a ferramenta Freehand Selection marque uma palavra
de cada vez
E cole "Past new layer" lado a lado.
Effects - 3D effects -
Drop Shadow 1 1 50 0 #ce1b2d
Effects - 3D Effects - Drop Shadow -1 -1 25 0 #ffffff.
Repita os efeitos na próxima layer "palavra love".
8.
Layers - Merge all
Selection - Selection all
Modify - Contract 15
Selection - Invert
Pinte com o gradiente da Etapa 3.
Effects - Plugin Richard Rosenman - Grain Generator,
agora colocando Amount 10.
Assine seu trabalho.
9. Salve como JPG e está pronto!!!
Meus tutoriais são registrados by TWI

Home
Design by
Sweet Seduction.
Copyright © 2009 -
2010 by Sweet Seduction.

